School of Physics, Mathematics and Computing
Creating the computing software, mathematical solutions and physics theories of the future
The School of Physics, Mathematics and Computing gives you a broad education to develop skills to tackle the fast-paced changes in today's world.
Our courses equip you with practical and theoretical expertise to develop effective and efficient analysis, visualisation, interpretation and technological skills.
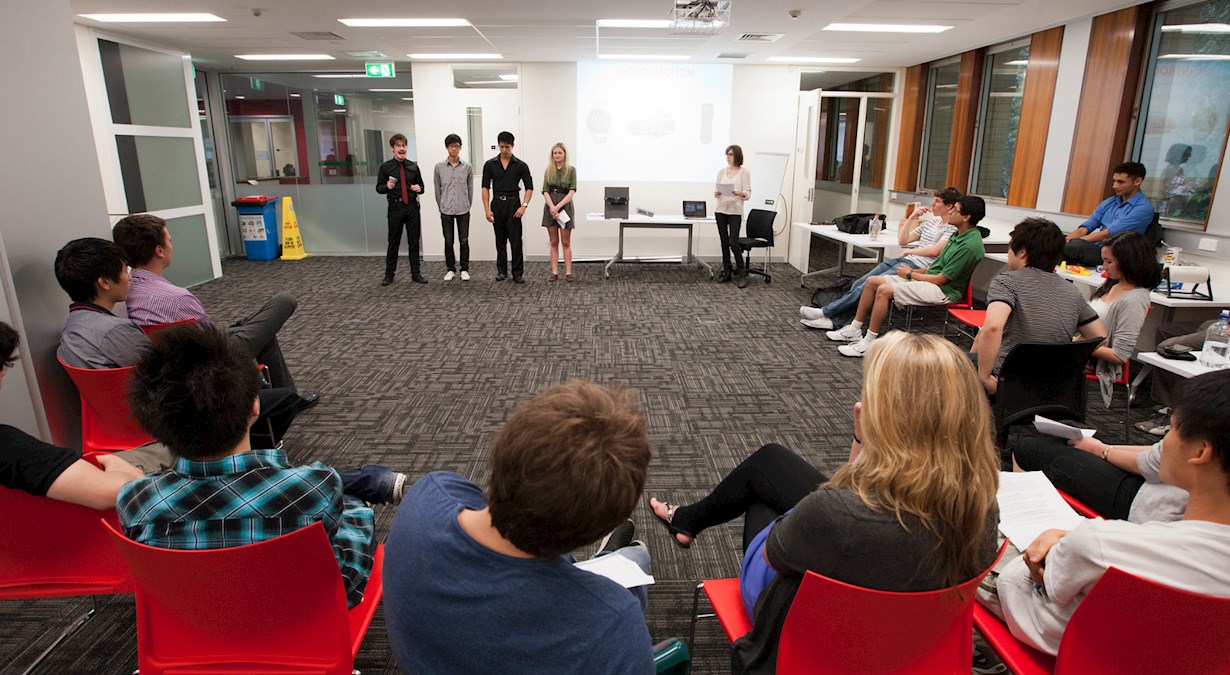
The majors we offer in Physics, Mathematics, Computer Science and Software Engineering provide the knowledge you need for complicated problem-solving while preparing you to take the leap into an interesting and rewarding career.
If you wish to have a career as a data scientist, astronomer, medical physicist, computer programmer, statistician, accountant or banker, then this School is for you. Our graduates are working for leading organisations around the world, including Google, NASA and Microsoft.
By enrolling in a Physics, Mathematics or Computing course at UWA, you will be closely involved in developing, creating and improving our everyday lives by interpreting the data, IT, mathematics and physics behind technological advances.
Our departments
Physics
Study how we exist in the world, through astronomy and astrophysics, computational, experimental, medical and theoretical physics.
Read moreMathematics and Statistics
Use data analysis, forecasting, decision making and detailed problem solving to find solutions to real world problems.
Read moreComputer Science and Software Engineering
Tackle technological challenges and devise innovative solutions to transform the way we live.
Read moreUWA is ranked in the top 1% of universities in the world.
UWA's Department of Mathematics and Statistics awarded 5 out of 5 in Excellence of Research Australia in Mathematical Sciences (Pure and Applied Mathematics)
UWA's Department of Physics was awarded 5 out of 5 in Excellence of Research Australia in Physical Sciences
We're home to three startups: Fleet Engineering, Wearhawk and Mapizy